


Hyperliquid Bridge: How to Bridge USDC to Hyperliquid
Hyperliquid is a high-performance layer-one blockchain that runs its own decentralized exchange, also called Hyperliquid. It is the leading decentralized exchange for perpetuals futures trading, rivaling many of its centralized counterparts in terms of daily traded volume.
This is mostly because Hyperliquid provides familiar trading interface, quick order settlements and, perhaps the most important part – an order book, unlike many of the decentralized exchanges which operate with liquidity pools. You can read more about it in our Hyperliquid review. It runs on Arbitrum to ensure quick and cheap transaction fees and finality.
The Hyperliquid bridge is a critical component of its ecosystem, allowing users to onboard funds to the blockchain and to the decentralized exchange.
Hyperliquid Bridge: Moving USDC to Hyperliquid
How to bridge USDC to Hyperliquid is perhaps one of the very first things a user must understand in order to start using the decentralized exchange. Keep in mind that all trading pairs on the platform are denominated against USDC.
There are generally two ways to go about bridging funds to Hyperliquid: centralized and decentralized.
In both cases you will need an EVM wallet such as MetaMask and an activated Arbitrum wallet. As we mentioned above, Hyperliquid operates on Arbitrum and you will need an address to receive the funds on. Check out some of the best DeFi wallets, most of which offer multi-chain support.
The decentralized way to bridge USDC to Hyperliquid
Although there are a few ways to go about this, perhaps the easiest is to use the solution provided by deBridge. It offers a nearly-instant solution to help you bridge any asset on any chain. Here is the step-by-step breakdown.
Step 1: visit deBridge
Step 2: select the source chain (the one that you have funds on) on top and the destination chain at the bottom. Hyperliquid operates on Arbitrum. Therefore, for your destination chain, you have to select Arbitrum from the chains tab and USDC from the assets tab as shown in the picture below:
Step 3: connect your EVM wallet as the source and the destination.
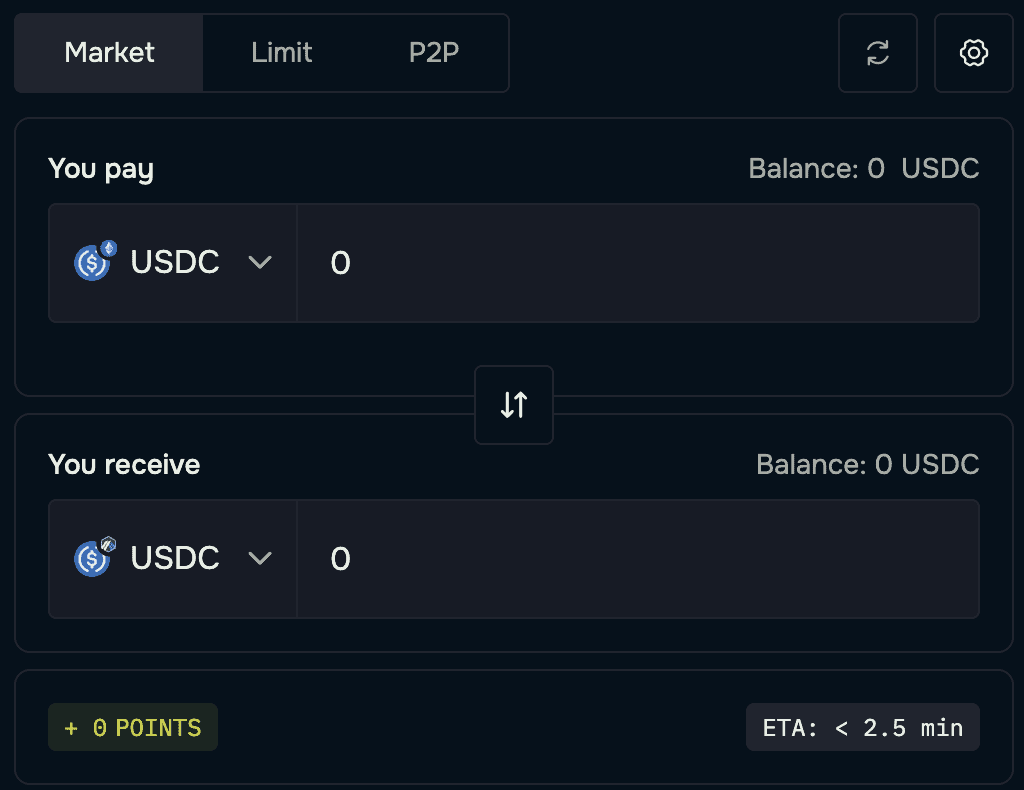
Step 4: input how much USDC you want to bridge to Hyperliquid and make sure to review the transaction details.
Step 5: confirm the transaction and in a few minutes the funds will be right into your Arbitrum wallet.
Step 6: Open Hyperliquid, connect your wallet and click on “Deposit” from the top right navigation menu. From there, you will see the available USDC in your Arbitrum wallet and you can deposit as much as you want from it to Hyperliquid and start trading immediately.
The centralized way to bridge funds to Hyperliquid
The above allows you to bridge funds without going through a single centralized party, but what if you already have funds on a popular exchange like Binance, for example?
Well, the process to bridge to Hyperliquid might even be easier. Simply go to your withdrawals tab and in the destination address input your Arbitrum wallet’s address.
Select how much you want to withdraw, confirm it, and once the transaction is through, you will see your funds directly in your wallet. From there, follow Step 6 from the above to deposit funds into your Hyperliquid account.
General Information about Hyperliquid’s Bridge
There are a few things that you need to know about the Hyperliquid bridge.
Deposits to Hyperliquid Bridge
First, the deposits to it are signed by the validators and are credited as soon as more than 2/3 of the staking power has signed the deposit.
The deposit flow itself is very simple. The user has to send USDC to the bridge (as described in the process above) and it is credited to the account that sent it in less than a minute.
There is a minimum deposit amount, which is 5 USDC. If you happen to send less than this, it won’t be credited and you will lose the funds forever.
Withdrawals from Hyperliquid Bridge
Withdrawals from the Hyperqliuid bridge would require a user wallet signature on the Hyperliquid DEX only. It does not trigger a transaction on Arbitrum and are handled entirely by validators.
The funds will arrive in your Arbitrum wallet in about 3 to 4 minutes.
Withdrawals from Hyperliquid are deducted from your L1 balance immediately and validators sign them as separate transactions. Once 2/3 of the staking power has effectively signed the withdrawal requres, an EVM transaction can be sent to the bridge, which will request the withdrawal. Once this happens, there is a dispute period, during which the Hyperliquid bridge can be locked for a malicious withdrawal. 2/3 of the stake-weighted validator set is required to properly unlock the bridge.
Once the dispute period is over, finalization transactions are being sent, which then distribute the USDC to the destination address.
You don’t pay any ETH fees for this transaction and it shouldn’t take more than 3-4 minutes, as explained above. However, there is a withdrawal gas fee of 1 USDC that is paid on Hyperliquid to cover the Arbitrum gas costs of the validators.
References:
- Hyperliquid bridge documents provided by Hyperliquid Foundation
- Hyperliquid deposit and withdrawal flow documents provided by Hyperliquid Foundation
- Comprehensive Hyperliquid Review by CryptoPotato
The post Hyperliquid Bridge: How to Bridge USDC to Hyperliquid appeared first on CryptoPotato.
Powered by WPeMatico